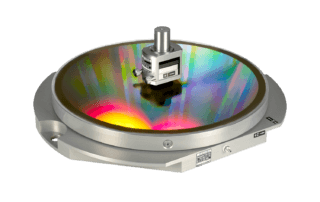
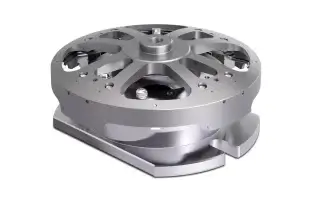
KGM 200 series grid encoders

Encoders for static and dynamic contouring accuracy inspection of CNC machine tools

  • Machine tool inspection and acceptance testing (as per ISO 230-2, ISO 230-3, ISO 230-4, and VDI/DGQ 3441)
  • Parameterization and testing of the Dynamic Precision and Dynamic Efficiency functionality packages for the TNC
  • Direct inspection method for static and dynamic behavior
  • Zero-contact and zero-wear scanning
  • Measurement of any circular diameter and freeform shape in the working plane
  • Optimal results with the EIB 741 interface box and ACCOM software for the PC
Analyzing thermal behavior

Frictional heat in ball screws influences the position accuracy, particularly when measuring indirectly in the drive only. Positioning tests in compliance with ISO 230-3 enable an analysis of thermal behavior through repeated positioning to two points within the measuring range limit.

Positioning accuracy of axes

The positioning accuracy and repeatability of a machine tool can be determined by moving to specified positions. At the same time, it is possible to measure the guideway error perpendicular to the direction of the machine tool’s slide.

Circularity test: detecting deviations

The data measured with the circular interpolation tests permit conclusions about the causes of the errors. Circular interpolation tests with large radii provide information on the machine geometry. Circular interpolation tests with small radii provide information on the control accuracy under high axis acceleration rates (radii: from 0.1 mm up to 115 mm).

Free form test: determining inaccuracies

In the free form test, the KGM 200 series encoders measure the actually traversed contours of any form by CNC tool machines in the working plane. With the ACCOM software, it is possible to subsequently evaluate the dynamic behavior of the machine.

Contact person – Sales

International Sales
+1 847-490-1191
info@heidenhain.com

Find your nearest representative